Share
Upload & Publish Your Photos in 3 Easy Steps
We don’t have to tell you that time is money. And sometimes, even simplifying the little things can make your workflow run more smoothly and save...
We don’t have to tell you that time is money. And sometimes, even simplifying the little things can make your workflow run more smoothly and save time. That’s why we’ve developed an easier way to upload your images to PhotoShelter.
The old concept of PhotoShelter’s Archive Area required you to first upload your images to the Archive as kind of “holding place” before you could do anything with them in your PhotoShelter account. But why require you to upload images to a secondary location if you’re ready to publish them to your website or deliver them to clients right then and there? The fact is, all images uploaded to PhotoShelter are automatically backed up in our system, no matter where they live; plus, we automatically resize images for the web. Meaning, the Archive was a somewhat unnecessary feature.
That’s when we decided it was time to cut out a step.
So whether your personal workflow includes publishing images on your website or sending them off to clients, you can now get it done in 3 easy steps. Here’s how:
1. Prep your Image Browser
One of the most important changes in the first phase of a brand new PhotoShelter was eliminating the need for a separate Archive.
Now when you’re ready to upload new images, the first step is to prep your Image Browser by creating a new gallery. Decide where you want it to live: the Unlisted on Website section contains all collections and galleries that are not listed on your website; the Listed on Website section is literally just that – a direct reflection of what is displayed on the gallery list page of your website. (If you’re unsure what this means, you can take a full guided tour of the new Image Browser here.)

The new Image Browser divides your collections & galleries into Listed on Website and Unlisted on Website. Your original Archive can be found in the Unlisted on Website section.
Highlight the desired section (or collection if this new gallery is going to live in an existing collection), and then click the red gallery icon at the top of Pane 1. You can name the gallery and set the visibility here.

Add a new collection or gallery by clicking the icons at the top of Pane 1.
Now your gallery is created, prepped, and ready for uploading.
2. Transfer images from your camera
This part you already know how to do. The second step is to transfer images from your camera to your desired location – computer desktop, Lightroom, Photo Mechanic, etc. Take care of any editing or post-production work to get your final files ready for uploading.
3. Upload to PhotoShelter
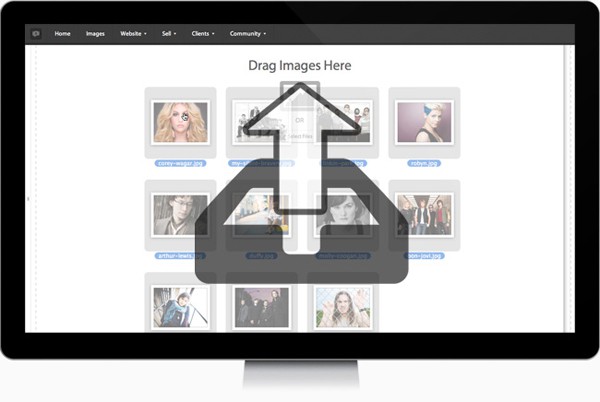
The third and final step is to upload your images to PhotoShelter. You can choose from one of six uploading methods, depending on your personal preference. But may we suggest the new, super sleek HTML5-based drag and drop uploader? To access the new uploader, simply locate the destination gallery and click the red upload button in Pane 3:

The upload button can be found in Pane 3.
Clicking this button will bring up the HTML5-based uploader, and from there you can either drag-and-drop or select files from your computer. Remember that you can use the Control (PC) or Command (Mac) keys on your keyboard to drag or select multiple files are once – you just can’t select entire folders from your computer. The upload initiates automatically and processes three images at a time for max speed performance.
If you’re more of a visual learner, watch this 2-minute video on Uploading Images to PhotoShelter.

The new HTML5-based uploader is sleek and fast.
Should you want to upload many images at once or have a shaky Internet connection, we recommend using the traditional PhotoShelter Desktop Uploader. The Desktop Uploader allows you to send images to your galleries without using your web browser. Why would you want to do that? Some reasons include: file queuing, pause and resume functionality, and bandwidth throttling to rate limit your uploads.
PhotoShelter also supports upload plugins from the following photo editing software (click on the link for more info and the latest plugin versions):
- Photo Mechanic
- Adobe Photoshop Lightroom using Pact Software
- Apple Aperture
- Incoming FTP
What now?
Now that you’ve uploaded your images to galleries, the options are endless. If the gallery is in the Listed on Website section, then your images are live on your website and ready for public viewing. If you’re not ready for public display, or intend to make them password-protected or grant access to specific clients – go for it (learn more about visibility and download access here). The images are ready to show off.

You May Also Like
-

Expert Advice and Top Tips from Pro Photographers for 2024
What’s one piece of advice you would give to aspiring or up-and-coming photographers? We asked nine experienced photographers and PhotoShelter members to share their top tips for those looking to get ahead in their photography careers. From finding your own visual voice to working with a mentor or photo assistant, each piece of advice listed […]
-

What’s On Your Photography Holiday Wish List?
The holiday season is around the corner and that means it’s the perfect opportunity to upgrade your gear or find that special gift for the visual storyteller or photography enthusiast in your life. We reached out to a handful of renowned photographers and PhotoShelter members, each with their unique styles and preferences, to bring you […]
-

Share a Photo That Means the World to You
We all have a photo that means the world to us. Maybe it’s one we made ourselves – the first photo from our first camera. It could be an old family photo in a beloved photo album. Or maybe it’s an iconic image that hangs on our wall at home. With World Photography Day coming […]