Share
The Essentials of Shooting Mouthwatering Food Photography
Photo by Jonathan Gayman/Slow roasted chicken cacciatore braised in San Marzano tomatoes and white wine with potatoes and carrots. The difference b...
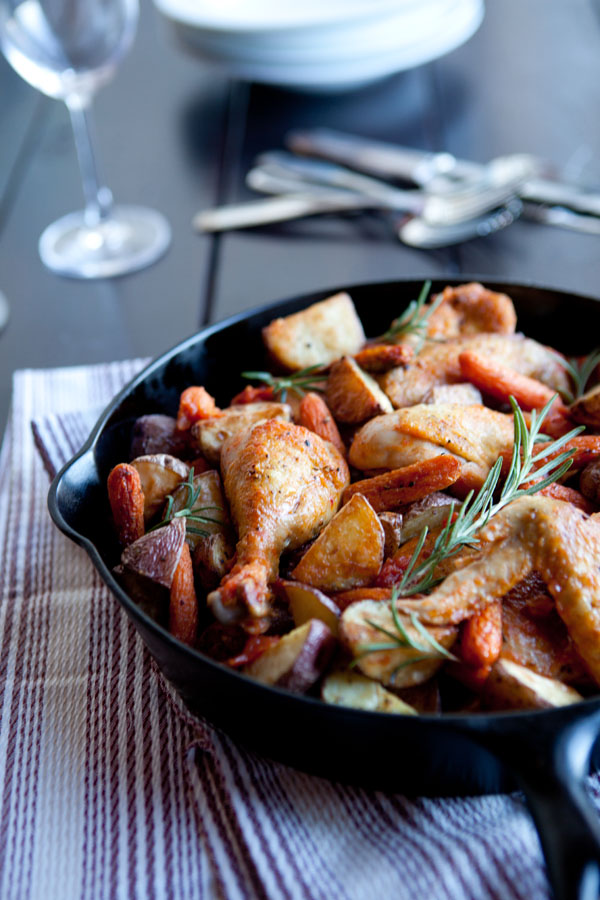
Photo by Jonathan Gayman/Slow roasted chicken cacciatore braised in San Marzano tomatoes and white wine with potatoes and carrots.
The difference between good and bad food photography is as clear as night and day: a photo of drooping, overly sauced enchiladas at your local Mexican restaurant are unappealing and make you want to run in the other direction; a photo of roasted chicken drumsticks alongside fresh vegetables and herbs are enough to make you start to salivate. So what can a photographer do to achieve the latter?
“I learned food photography by cooking the food for my blog, Shoot to Cook, and doing the styling myself,” says food photographer Jonathan Gayman. Jonathan has actually been working as a fulltime professional photographer since 2006, doing mainly corporate portraits for marketing materials, corporate magazines, and annual reports. Then in 2010, a food magazine “discovered” his food blog, and hired him for his first major food photography assignment. Those first few clients led to a continuous steam of incoming assignments, and now Jonathan is able to dedicate himself fulltime to commercial, editorial, and food photography.
How did Jonathan successfully incorporate food photography into his business? Simply put, his images make you want to jump into the photo and sink your teeth into whatever’s there. If you’re looking to evoke a similar feeling, here are his essentials to shooting mouthwatering food photography.
Learn to love food styling.
Half the battle – and fun – in shooting food is styling it to get the perfect composition and aesthetic, in order to really tell the story behind the food.
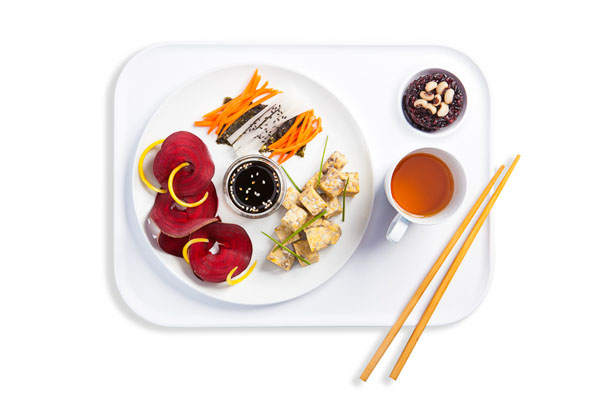
“You could shoot the same dish in a bunch of different ways to tell several different stories,” says Jonathan. “Sometimes you want to really focus on the visual, graphic quality of the food, in which case a white background makes sense. If the restaurant is really sleek and modern, with every tiny piece of food placed just-so on the plate, then you need to style in a clean, precise way using crisp white table linens, flawless glassware, etc.”
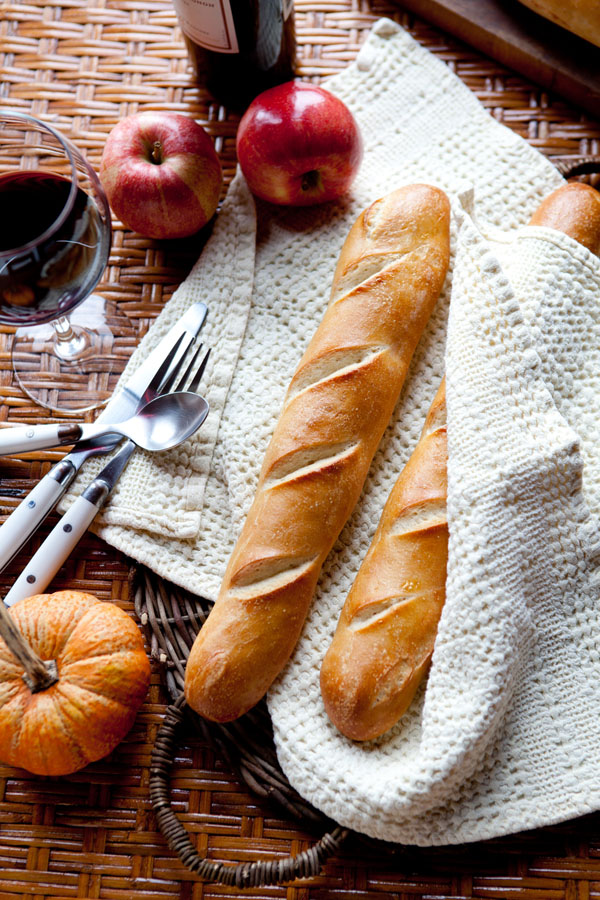
“Other times you want to elicit a feeling or mood, so an elaborate set and props would be a better choice,” says Jonathan. “For example, in the baguette shot I wanted it to feel like a fall picnic, so I chose a wicker basket for my surface, a casual rumpled tea towel, cheap cutlery with plastic handles that you may take on a picnic, and then added wine, apples and a small pumpkin to really drive home the fall theme. The photograph is about the baguettes…but the additional props are there to balance the composition and to tell the story.”
Jonathan rarely has a dedicated food stylist on set, so he takes his lessons learned from shooting for his own blog and melds it what the client or chef wants to convey with the photograph. “When I’m shooting at a restaurant, I work with the chef for the styling of each dish,” he says. “I like to discuss how the dish is plated before the cooking starts – it’s a collaborative effort.”
He also always has his trusty food styling kit on hand for any last minute tweaks, which includes:
- Tweezers
- Toothpicks
- Skewers
- Vegetable oil
- Q-tips
- Towels
“I’m often moving food around the plate with my hands and towels are very important for wiping up splatters and to clean off my hands before I pick up the camera again,” notes Jonathan.
How to style food and pair it with the right prop are just a few of the decisions that you might have to make as a food photographer. The result is the difference between a photograph that compels a viewer to try that recipe or visit the restaurant, and one leaves them with a lack of appetite.
Beware of food’s half-life.
“Nothing can kill a photo faster than having the food sit under a heat lamp while you fiddle with your camera,” says Jonathan. Unlike other subjects, food has a very short window of time when it looks good enough to photograph. That means you have to get your act together – fast.
“The half-life on food is very short, sometimes as little as a couple of minutes,” advises Jonathan. “When I’m working with a chef at a restaurant, I always make sure that I have my shot planned, my lights (if any) set up, and that I’m ready to start shooting the instant the food is brought out.”
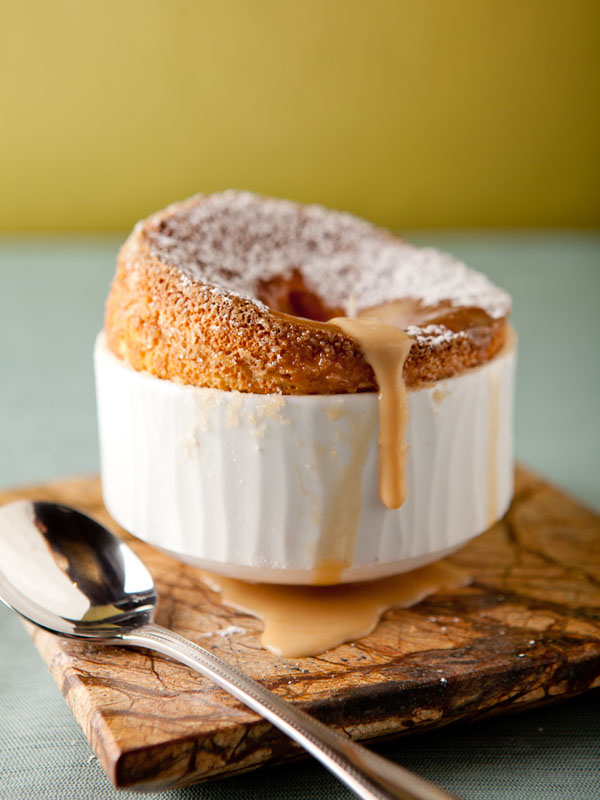
“I recently shot a soufflé for a magazine…we built the set right next to the oven, so I could shoot as soon as the soufflé came out. Even so, I had about 30 seconds before the soufflé collapsed. I got the money shot in three takes with three soufflés.”
Still, says Jonathan, “Some foods can be revived a bit. For example, brushing a little vegetable oil on a steak that is starting to look dry. But it’s always better to get the shot while the food is fresh.”
Finally, there are certain foods that you actually might want to sit out for a bit before you make the shot. “With ice cream for example, you may want a little bit of melt to happen because a little drip is sometimes more appetizing,” says Jonathan. “It’s a fine line.”
Bottom line when determining how long you have to press the shutter? It’s easier to wait for the food than to have the food wait for you.
Know how to make ugly food look delicious.
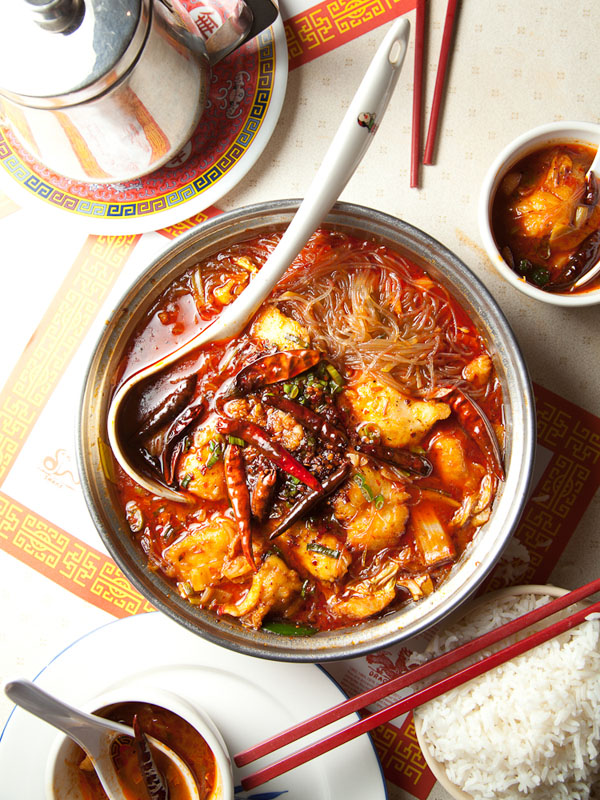
Remember those photos of the unappetizing Mexican food? Who says it has to look that way, even if it’s dripping in sauce and the colors aren’t that bright?
“Some food is just plain ugly,” admits Jonathan. “Remember that you need to make it look delicious, not pretty. Focus on the details that will make the viewer really think about what the food tastes like.”
Jonathan always asks the client or chef to pass along a list of ingredients in the dish so he can start thinking about how to style the shot. Adding fresh ingredients alongside the “hero” (i.e. the main dish or food) is a great way to perk up a dish and show viewers how it was prepared without doing step-by-step shots.
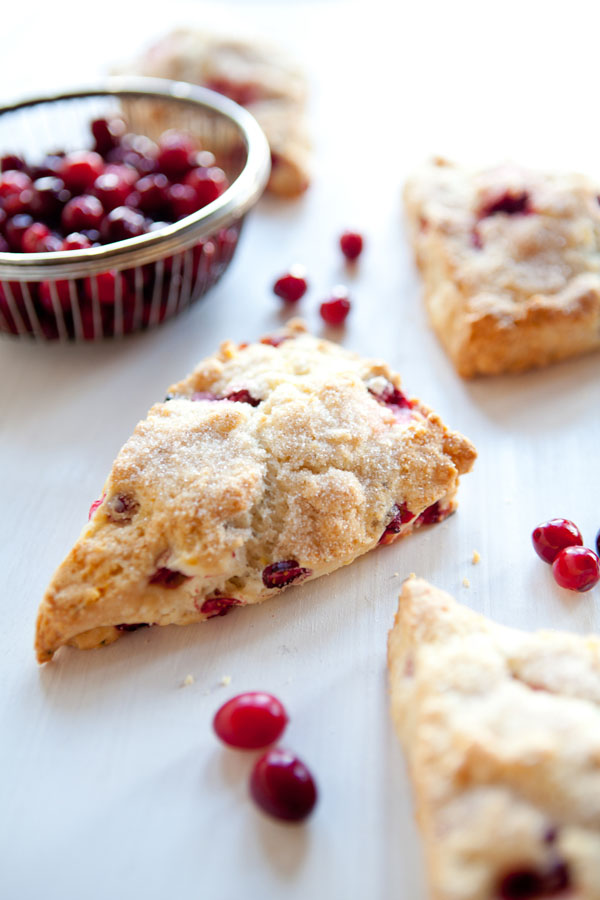
Photo by Jonathan Gayman/Rosemary and Cranberry Scones from the Four Seasons Bakery outside of St. Louis, MO.
“Sometimes, though, all it takes is a really nice garnish to add some life to an unattractive dish,” says Jonathan. “A few sprigs of rosemary or parsley go a long way. Color is really important, so if you have a bland, colorless dish, figure out a way to add color and contrast.”
Jonathan also advises that you need to make the environment around the food just as captivating as the food itself. “Going macro is an easy way out because it allows you to not think about the negative space in the shot, but it doesn’t tell the whole story,” he says. “So back it up a bit.”
“I’ve been shooting overhead a lot lately, because it is a great way to emphasize the graphic nature of food. I tend to compose a photo by moving elements around the frame so that the shapes and colors complement each other. Plus I think an overhead shot gives the viewer a different perspective, since we usually see a three-quarters view when we’re seated at a table, getting ready to dig in.”
What about when you don’t have clear direction from the client? “When I’m given an assignment to shoot at a restaurant, for example, I try to get as much information about the venue as I can in advance,” says Jonathan. “Then I do a Google Images search; more often than not, some foodie has snapped a cellphone photo of the dish that I’m going to be shooting, which will give me an idea of what to expect. Anything I can glean in advance helps give me an edge when I arrive on location.”
So while it’s true that you want the food to be center stage, make sure the stage is also attractive and complements the main player.
Master white balance.
Obtaining proper white balance is critical to successful food photography and showcasing the beautiful colors that are naturally part of any appetizing dish. From there, photographers have creative license with the color temperature to achieve the desired look.
Here are Jonathan’s two tips on how to achieve perfect white balance:
- Start with good light – then it will be easier to get a good white balance. Also, avoid mixing light sources. This can be accomplished by turning off /blocking overhead lights when shooting in natural light, or blocking out the ambient light by using a fast shutter speed when shooting with strobes. If you set up your shot on your dining room table under a tungsten overhead lamp with fluorescent light spilling over the kitchen, you’re going to have problems getting good white balance.
- Learn how to use both your camera’s white balance settings and invest in post-production software. Most modern digital cameras do an OK job with the white balance on auto, but fine tuning in something like Lightroom is usually necessary.
While Jonathan’s first choice is always to shoot in natural light, he keeps several speedlights, small softboxes, and umbrellas on hand to create artificial light. “One of my favorite setups lately is a small speedlight-powered octabox for the key light placed very close to the food, my trusty $2 foamcore bounce card for fill, and a gridded speedlight for a rim light.”
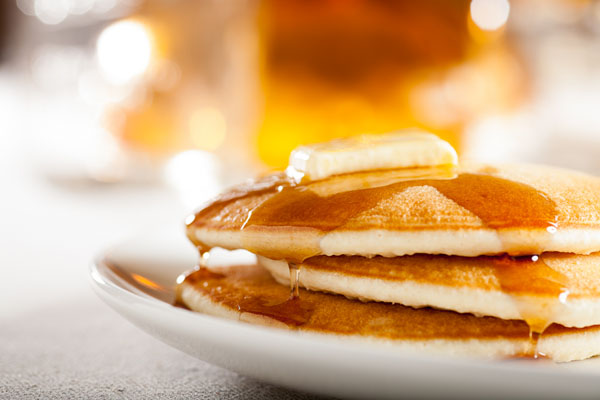
The above shot of buttery pancakes is an example of when Jonathan used artificial light. To get it to feel like a breakfast scene, he placed a strobe at the back of the table low to its surface in order to cast a hard backlight, giving you the feeling that the morning sun is peeking through a window. “You can accomplish a warm feeling by using colored gels on your strobes and by tweaking your white balance a bit,” advises Jonathan. While “correct” color is subject, Jonathan tweaked it to be slightly warmer than true white to emphasize that warm, “breakfasty” feel.
Once you’ve mastered white balance, you can use hard or soft light to emphasize the food’s texture. In post-production, pay special attention to basic contrast tweaks to get the look and feel that truly conveys the food’s story.
To see of more on Jonathan’s mouthwatering food photography, visit his website at jonathangayman.com.
