Share
Color Management Tips for Your Digital Workflow
“If you rely on your camera to choose the correct exposure and rarely do any exposure compensation, chances are your images are too dark, and bec...
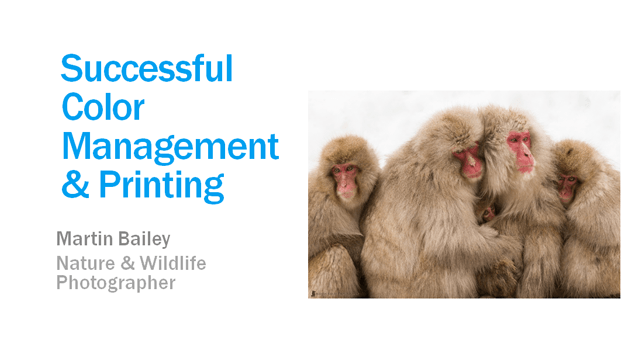
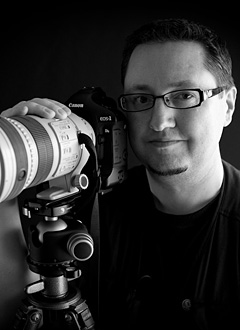
“If you rely on your camera to choose the correct exposure and rarely do any exposure compensation, chances are your images are too dark, and because your monitor is too bright, you wouldn’t know,” says color management pro and nature & wildlife photographer Martin Bailey. This is just one piece of advice Martin shared with the audience during our live webinar event yesterday co-sponsored by X-Rite color management systems.
While most color management and printing tutorials are dense and boring, Martin makes the process more inviting. You’re left feeling motivated to calibrate your entire workflow – so that you too can achieve the highest quality output.
Martin’s other top tips included:
- The monitor calibration “myth”: too-bright monitors is #1 reason that people think their prints are too dark – but it’s the other way round! Learn at what percentage you should generally have your monitors set at.
- Calibrate in-camera: take control of the color by shooting the X-Rite ColorChecker Passport during your shoots – you’ll then be able to create a camera profile in Lightroom or X-Rite’s ColorChecker Passport software, and apply them in Lightroom or Adobe Camera RAW.
- “Expose to the right”: half the data is recorded in the first 10% of the histogram – capture the best possible quality pixels here.
- Color management is key if you use multiple camera bodies: create the same look from each camera – crucial for producing and printing the same color, and for your overall workflow.
The audience also had a lot of great questions for Martin on color management and professional printing. Below are a few of the most common, with Martin’s personal responses:
1. I have a 27″ iMac and a 15″ Macbook Pro. I use the i1 Display Pro on both computers, but the color profile that is created looks very different between the two computers. How can I make them match up so I can view the same image on both devices and have them look the same?
As you say profile, in the singular, I first want to note that you need to profile each display separately. One profile won’t work for both monitors. I’m sure you already know that, though, so my next suggestion would be to try different combinations of options, like turning Ambient Light Smart Control off if it’s on, and vice versa. I’ve known monitors to be way out with one setting, and then perfect with another.
It’s difficult to say exactly which will work for you without seeing the software you are using, and available option, but trying different combinations usually results in finding your perfect settings. Also, do ensure that you set your display Brightness based on a measurement of your ambient light, if you want to print images that look similar to your display.
2. For those of us who have some financial constraints for a monitor, are there other monitors you recommend?
I’ve heard good things about HP, Dell and NEC monitors. As with anything, buy the best you can afford within reason, as you get what you pay for, but most displays these days will give good results. If photography is the main use of your display though, I do suggest looking for antiglare screens, as the glossy screens can make your images look punchier than they really are.
3. Why is an 18% grey card not sufficient for camera WB calibration?
Because setting a WB and camera calibration are two totally different things. If all you want to do is set the WB, an 18% grey card is just fine. A ColorChecker Passport though will enable you to create a camera profile to remap the colors in your images to more accurate colors, which gives you an excellent base to start your digital workflow from.
4. Do you need to make a full-size print in order to make a useful profile? Can you make a smaller sized print and still get in the ballpark?
The prints that you make for profiling are usually of a patch set printed on US Letter (8.5 x 11″) or A4 paper size, so they don’t need to be big. I showed two pages being printed together in the presentation, but this is because I was printing with roll paper.
For test prints of images, by all means print smaller to begin with to see how the colors are shaping up, and then make your final print at full size. Image can look a little darker when printed smaller, but it will give you a good idea of any screaming issues to fix. Make sure you check for and remove any sensor dust spots before printing large too. This has the major reason for my reprints in the past, so I go over prints at 100% checking for dust spots before printing now.
5. What are your preferred papers for printing?
My favorite papers for printing are Breathing Color‘s Optica One for matte, and if I need a more glossy paper, their Baryta coated Vibrance Rag is amazing. I also use their Lyve Canvas a lot for gallery wraps. These papers all have incredible color reproduction and very deep blacks, even the matte papers. We will probably be demoing Lyve Canvas and maybe some other papers during our Pixels 2 Pigment seminar tour. Also, use the code MBP20 for $20 off your first order if you decide to pick something up. Breathing Color are amazing!
Martin’s Craft & Vision ebook, Making the Print, has been converting photographers from around the world to frustration-free, happy printers. Now in this live webinar, Martin will share the best secrets from his ebook. Martin is also embarking on a world tour, Pixels 2 Pigment, where he’ll be holding weekend workshop seminars in major cities in the US, Canada, UK, Australia, and Japan. For more information and to sign up for the seminar, visit www.pixels2pigment.com.
