Share
Video Demo: Retouching Portrait Photography Using a Photoshop Quick Action
This video is a recording of our live Photoshop demo with photo retoucher Kristina Sherk of SharkPixel.com. Kristina walks us through her time-savi...
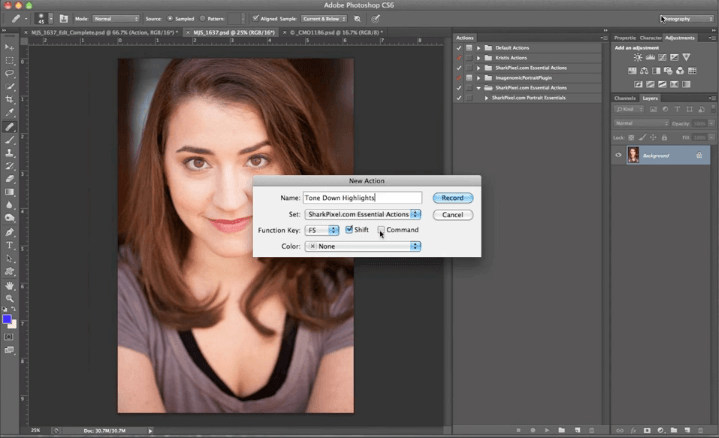
This video is a recording of our live Photoshop demo with photo retoucher Kristina Sherk of SharkPixel.com. Kristina walks us through her time-saving Photoshop action that creates the adjustment layers and edits she uses for high-end portrait retouching. The material covered is meant for intermediate Photoshop users who are looking to streamline and bring consistency to their retouching workflow.
Note: This video is best viewed in full screen (click the arrows in the bottom right corner of the video) and after an introduction, Kristina starts her demo at the 6:35 mark.
Kristina has made this quick action for Photoshop available for download!
Instructions to download the action
Please use these instructions to download and install the action. If you have any questions, please contact Kristina.
Mac users
1. Right click on this link.
2. Select “Save Link As”.
3. Find the .zip file in your Downloads folder.
4. Double click the file to unzip it, and save the correct version (CS5 or CS6) somewhere you’ll remember.
5. Open Photoshop and click on the little arrow button on the top right corner of the Actions palette and select “Load action”.
6. Look for the .atn file you just saved when the pop up file browser comes up.
7. Once you’ve found the file, select “Open”.
PC users
1. Press the “Control” key on your keyboard and then click this link.
2. Select “download linked file”.
3. Find the .zip file in your Downloads folder.
4. Double click the file to unzip it, and save the correct version (CS5 or CS6) somewhere you’ll remember.
5. Open Photoshop and click on the little arrow button on the top right corner of the Actions palette and select “Load action”.
6. Look for the .atn file you just saved when the pop up file browser comes up.
7. Once you’ve found the file, select “Load”.
Using the action
In Photoshop CS6, the action should select the Skin Tones automatically. After you run the action, edit each of the new layers as Kristina outlines in the video. The Photoshop CS5 is slightly different. Since the Skin Tones options doesn’t exist in the Select -> Color Range menu, Kristina chose to select “highlights” from the Select -> Color Range menu. This might not work as well for subjects with darker skin – if this is the case, simply use the Eye Dropper tool to select the color range that works for your subject.
Check out Kristina’s Fashion Retouching DVD for more tips!
In this intensive video training, you’ll discover the techniques that Kristina uses in post production for fashion and advertising photography. The video contains over 5 hours of brand new sharp video.
Use the promo code “sheltercafe” and save 20%!
Get the DVD here: www.photoshopcafe.com/video/products/Fashion_Retouching.htm
You May Also Like
-

Expert Advice and Top Tips from Pro Photographers for 2024
What’s one piece of advice you would give to aspiring or up-and-coming photographers? We asked nine experienced photographers and PhotoShelter members to share their top tips for those looking to get ahead in their photography careers. From finding your own visual voice to working with a mentor or photo assistant, each piece of advice listed […]
-

What’s On Your Photography Holiday Wish List?
The holiday season is around the corner and that means it’s the perfect opportunity to upgrade your gear or find that special gift for the visual storyteller or photography enthusiast in your life. We reached out to a handful of renowned photographers and PhotoShelter members, each with their unique styles and preferences, to bring you […]
-

Share a Photo That Means the World to You
We all have a photo that means the world to us. Maybe it’s one we made ourselves – the first photo from our first camera. It could be an old family photo in a beloved photo album. Or maybe it’s an iconic image that hangs on our wall at home. With World Photography Day coming […]