Share
Lighting Tips from 5 of the Best Still Life Photographers in the Business
Earlier this year we launched The List – a selection of 90 finalists from those who applied in our 80,000+ community of PhotoShelter members, cho...

Earlier this year we launched The List – a selection of 90 finalists from those who applied in our 80,000+ community of PhotoShelter members, chosen by a panel of independent judges. This week we’re highlighting all five of the still life photographers from The List. It’s clear from their photos that they are masters at lighting everything from jewelry to sneakers, and even food. Read below for their best tips on how to light some of the most challenging objects.
Feature photo by Xavier Young
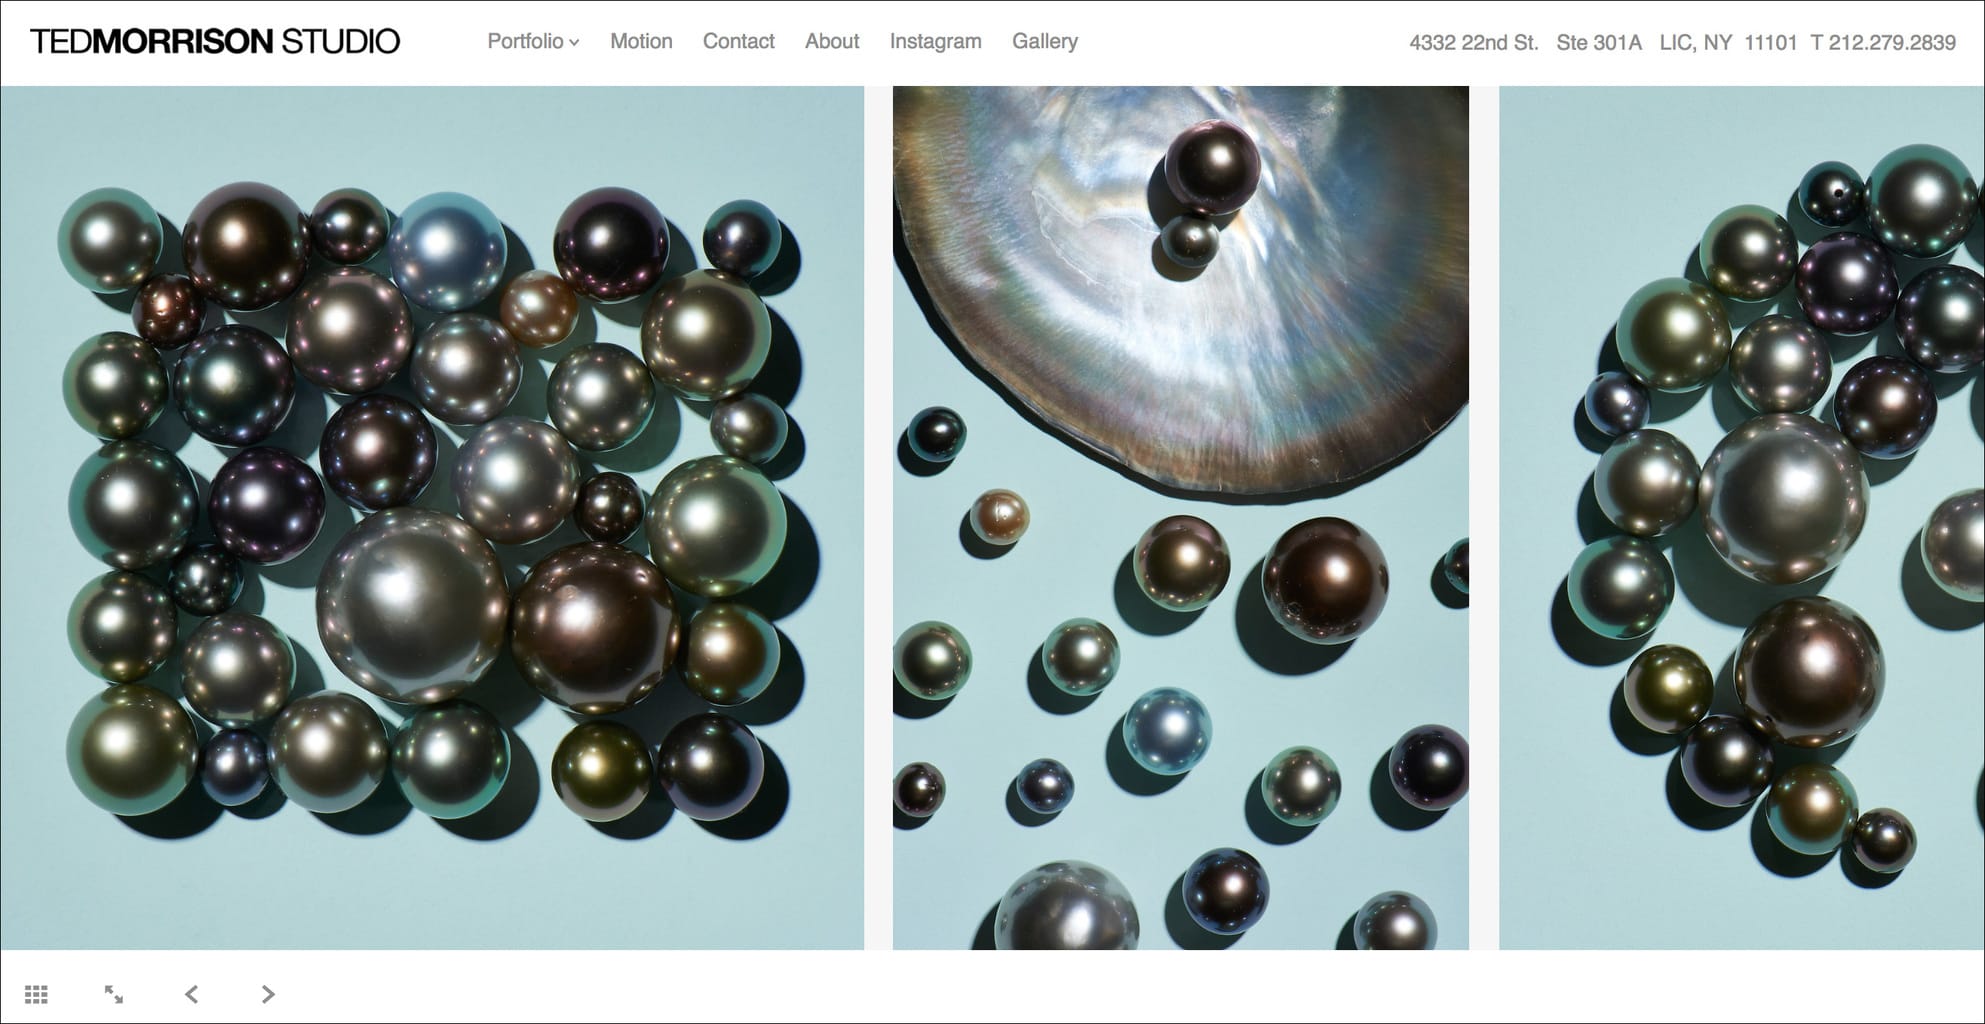
Ted Morrison
Primary location: New York, New York
Instagram | Twitter
“Creative talent, as illustrated in the numerous commissions and awards I have received, combined with the experience of over 20 years running a successful commercial photography studio in NYC, shows I know how to get the job done creatively, on time and on budget. And I have great stories to tell!”
What’s one lighting tip you’ve learned over the years?
“One technique I find super useful in still life is focus stacking. You can use Photoshop or a separate software like Helicon Focus, and it allows you to combine a number of images to achieve super sharp images from front to back.”
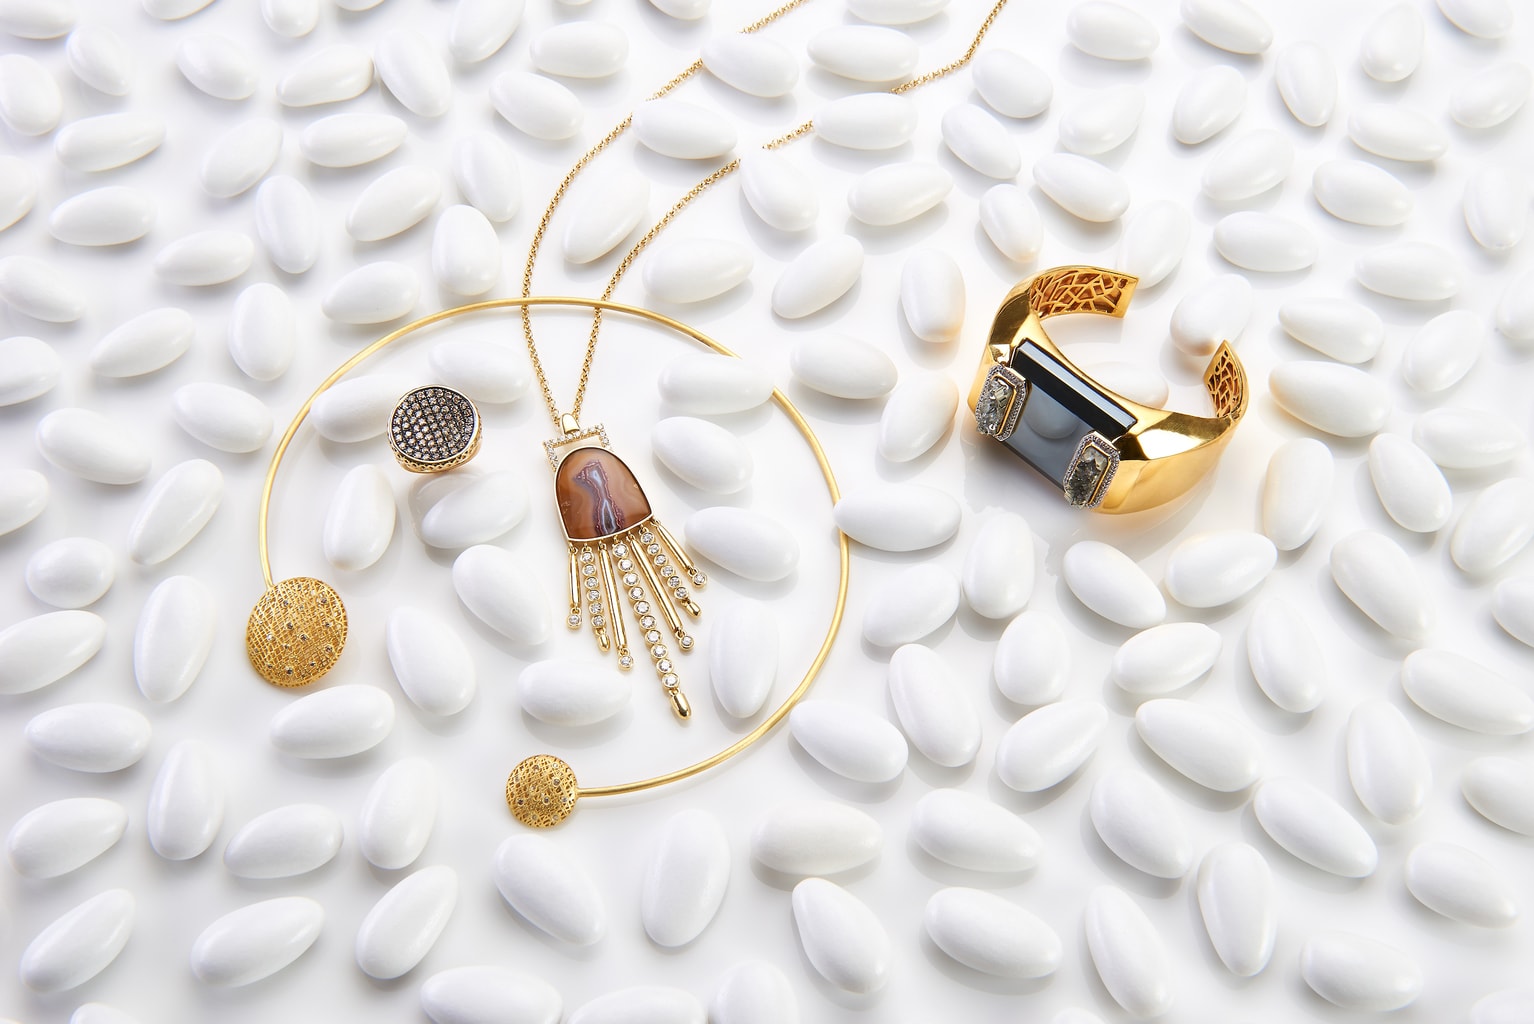
Photo by Ted Morrison
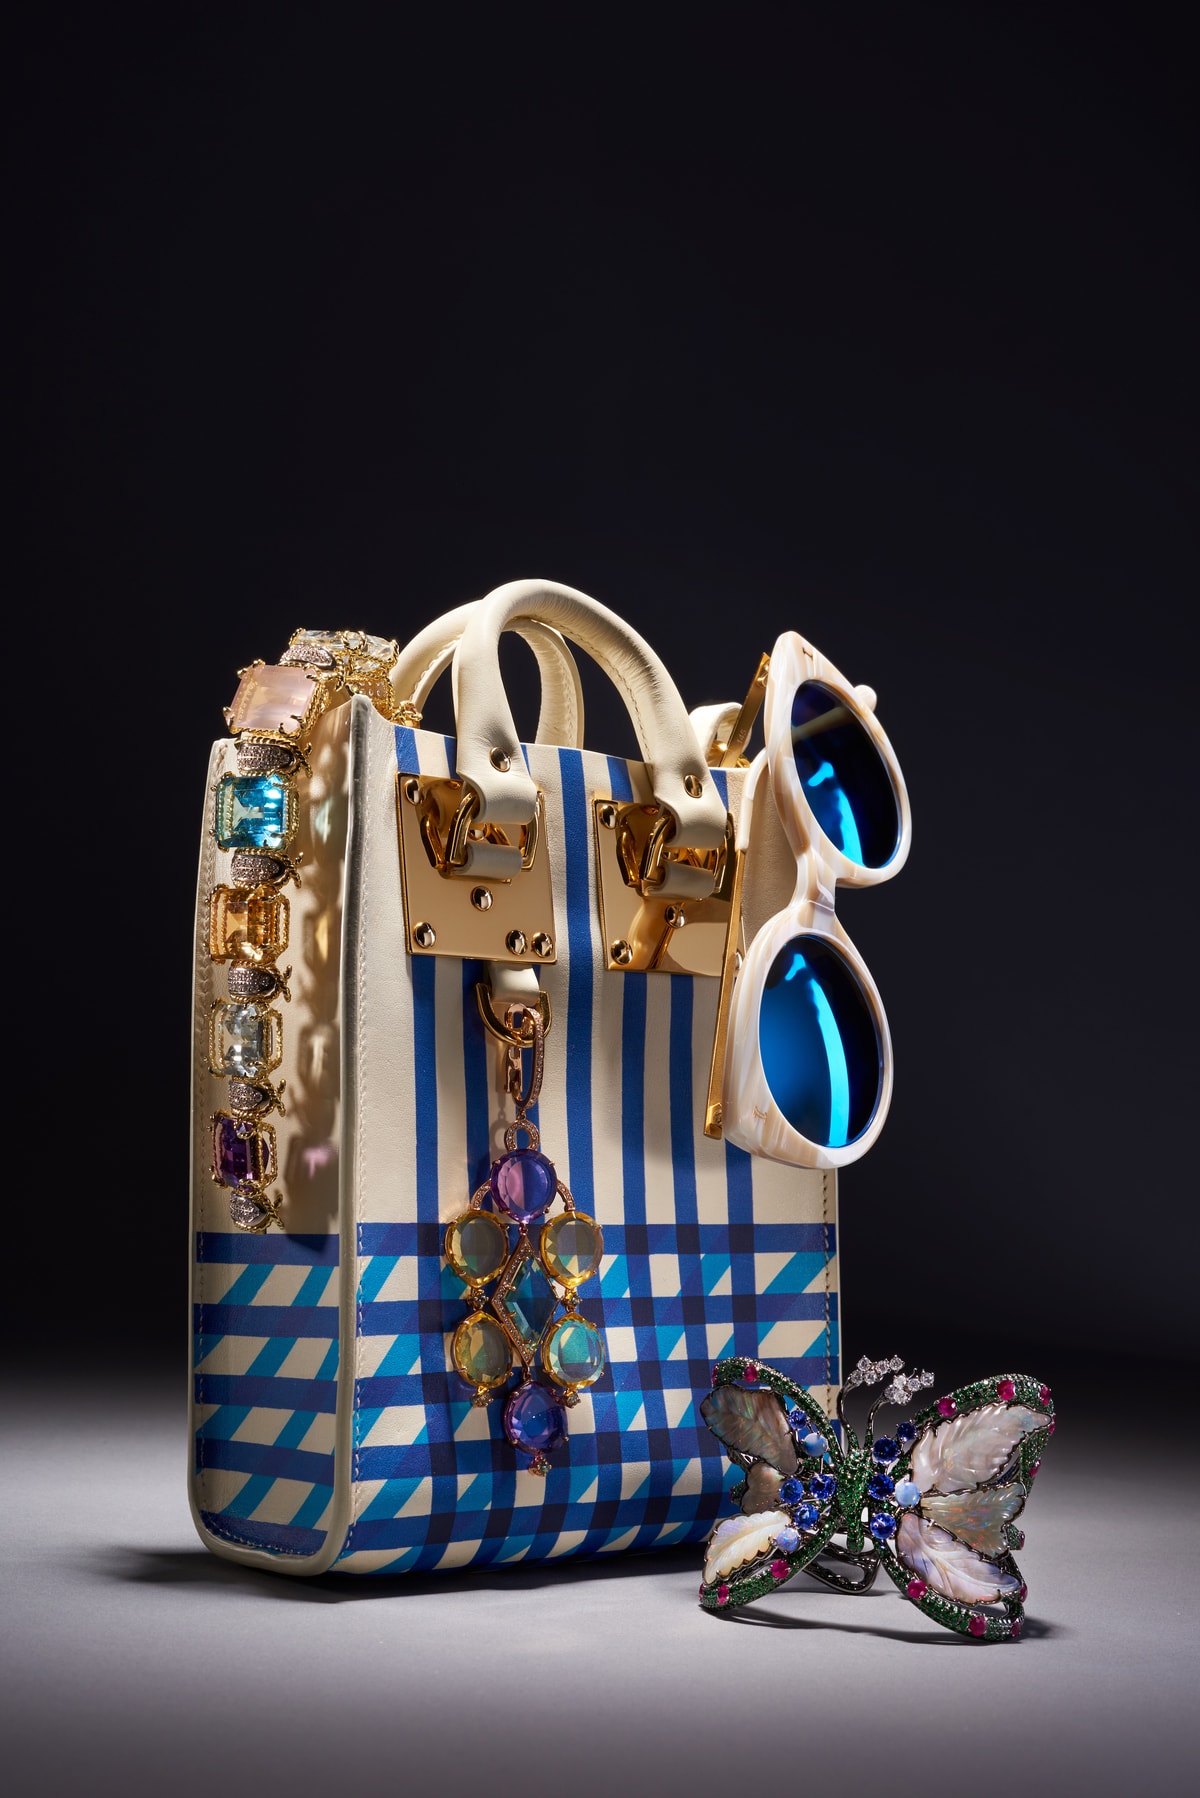
Photo by Ted Morrison
Timothy Hogan

Primary location: Los Angeles, California
Instagram | Twitter | Facebook | Vimeo
“From still life on location in challenging natural environments to precision crafted splashes in studio, we go above and beyond expectations every time. We take pride in our craftsmanship, communication and teamwork to produce results that brings our client’s businesses to the next level.”
What’s one lighting tip you’ve learned over the years?
“My lighting has developed over the last 20 years to be an orchestrated combination of diffused sources for surface contours and hard lights for texture. My goal is to accentuate each surface, effectively making it more of what it already is. If it is polished, I craft light to bring out that polished feeling. If it is rough and textured, I use directional sources to play up that texture. That gives my photographs a distinct three-dimensional feel. In fact, back when we showed printed books, I watched many creative directors pick up the plastic sleeve and feel the print to see if it was embossed.
I also spend a lot of time with my clients to decipher language into actionable elements on set. I work closely with them and show how flexible my setup is to achieve minute transitions. Then I’ll discuss their desired outcome, translating comments like, “can you make this pop” into lighting changes that capture the true essence of their vision.
Oh… and I hate softboxes. The light is just awful. There, I said it.”

Photo by Timothy Hogan Studio
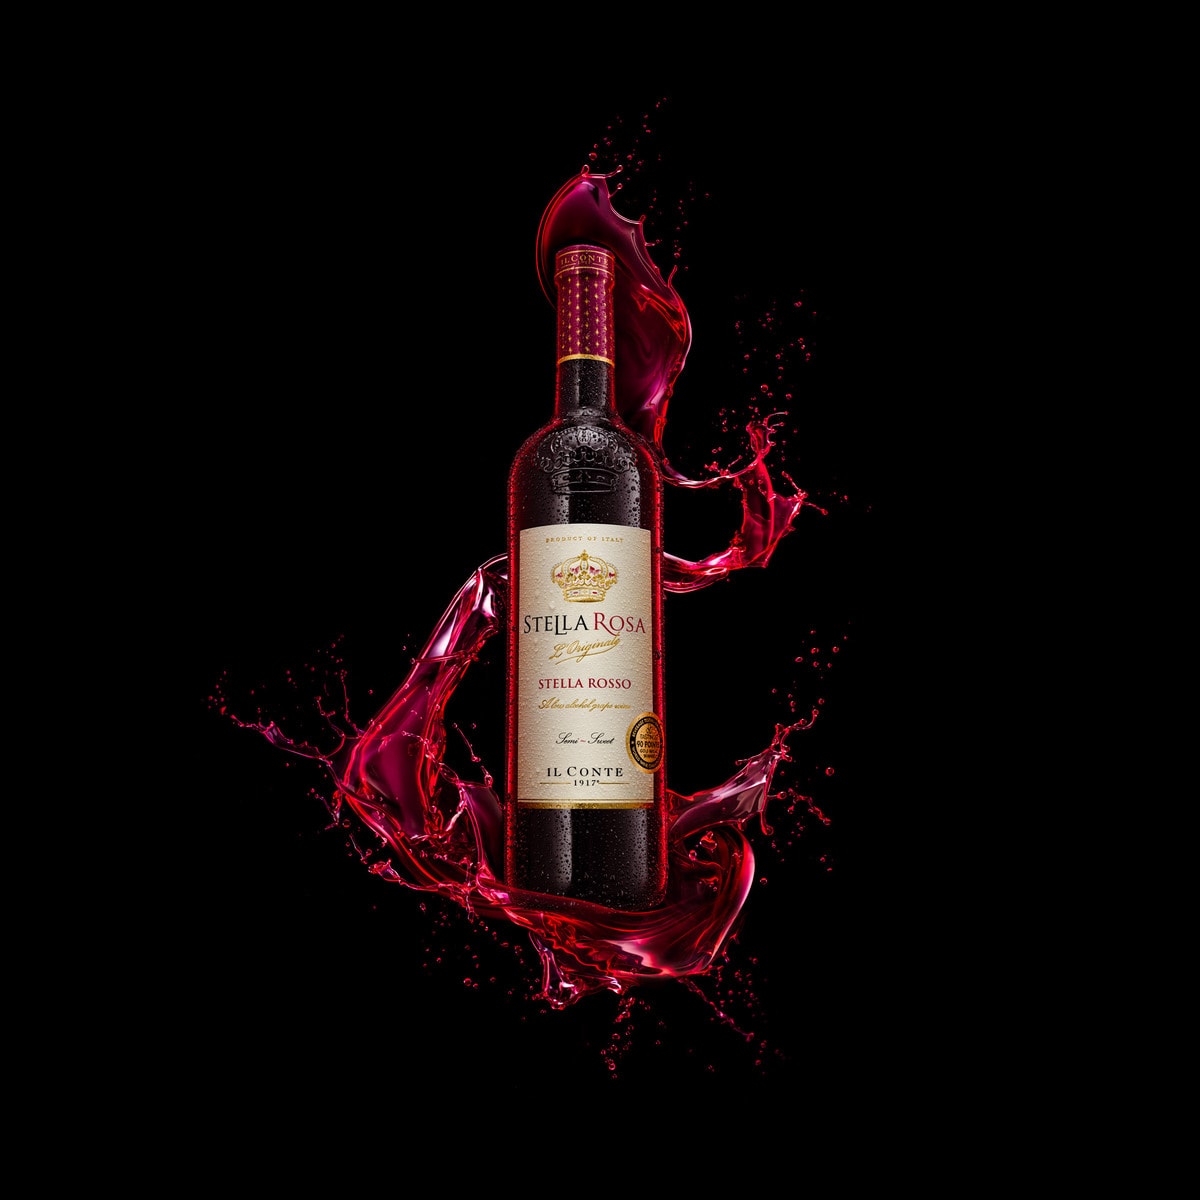
Photo by Timothy Hogan Studio
Gisel Florez

Primary location: Brooklyn, NY
Instagram | Facebook
“I am a luxury product photographer based in NYC for the past 14 years. My life is to be creative, and my work is captured using a high-quality digital 4×5 camera, or Phase One XF for handheld. I have acquired my light-bending techniques from studying the masters, and I love to create.”
What’s one lighting tip you’ve learned over the years?
I recently had the opportunity to shoot the high energy physics being studied within the Brookhaven National Laboratory. To maximize the effects of this location, I utilized a method that focuses on the axis of light vs. the axis of time. When studied together, they show unique light beams and colors particular to their origin and setting.
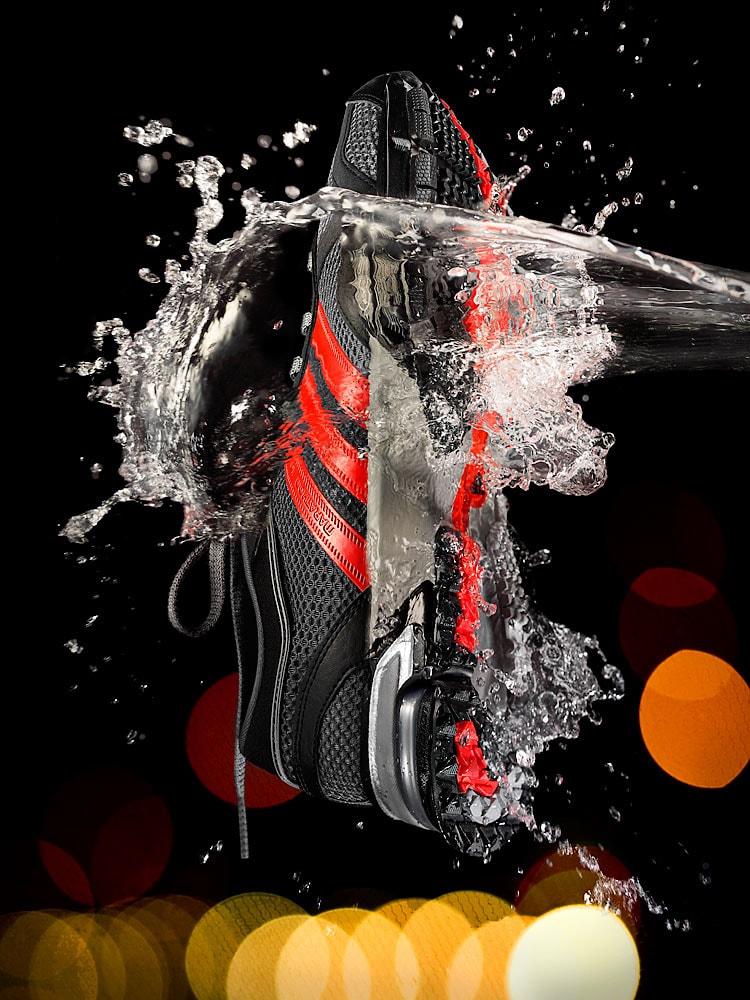
Photo by Gisel Florez
Photo by Gisel Florez
Xavier Young
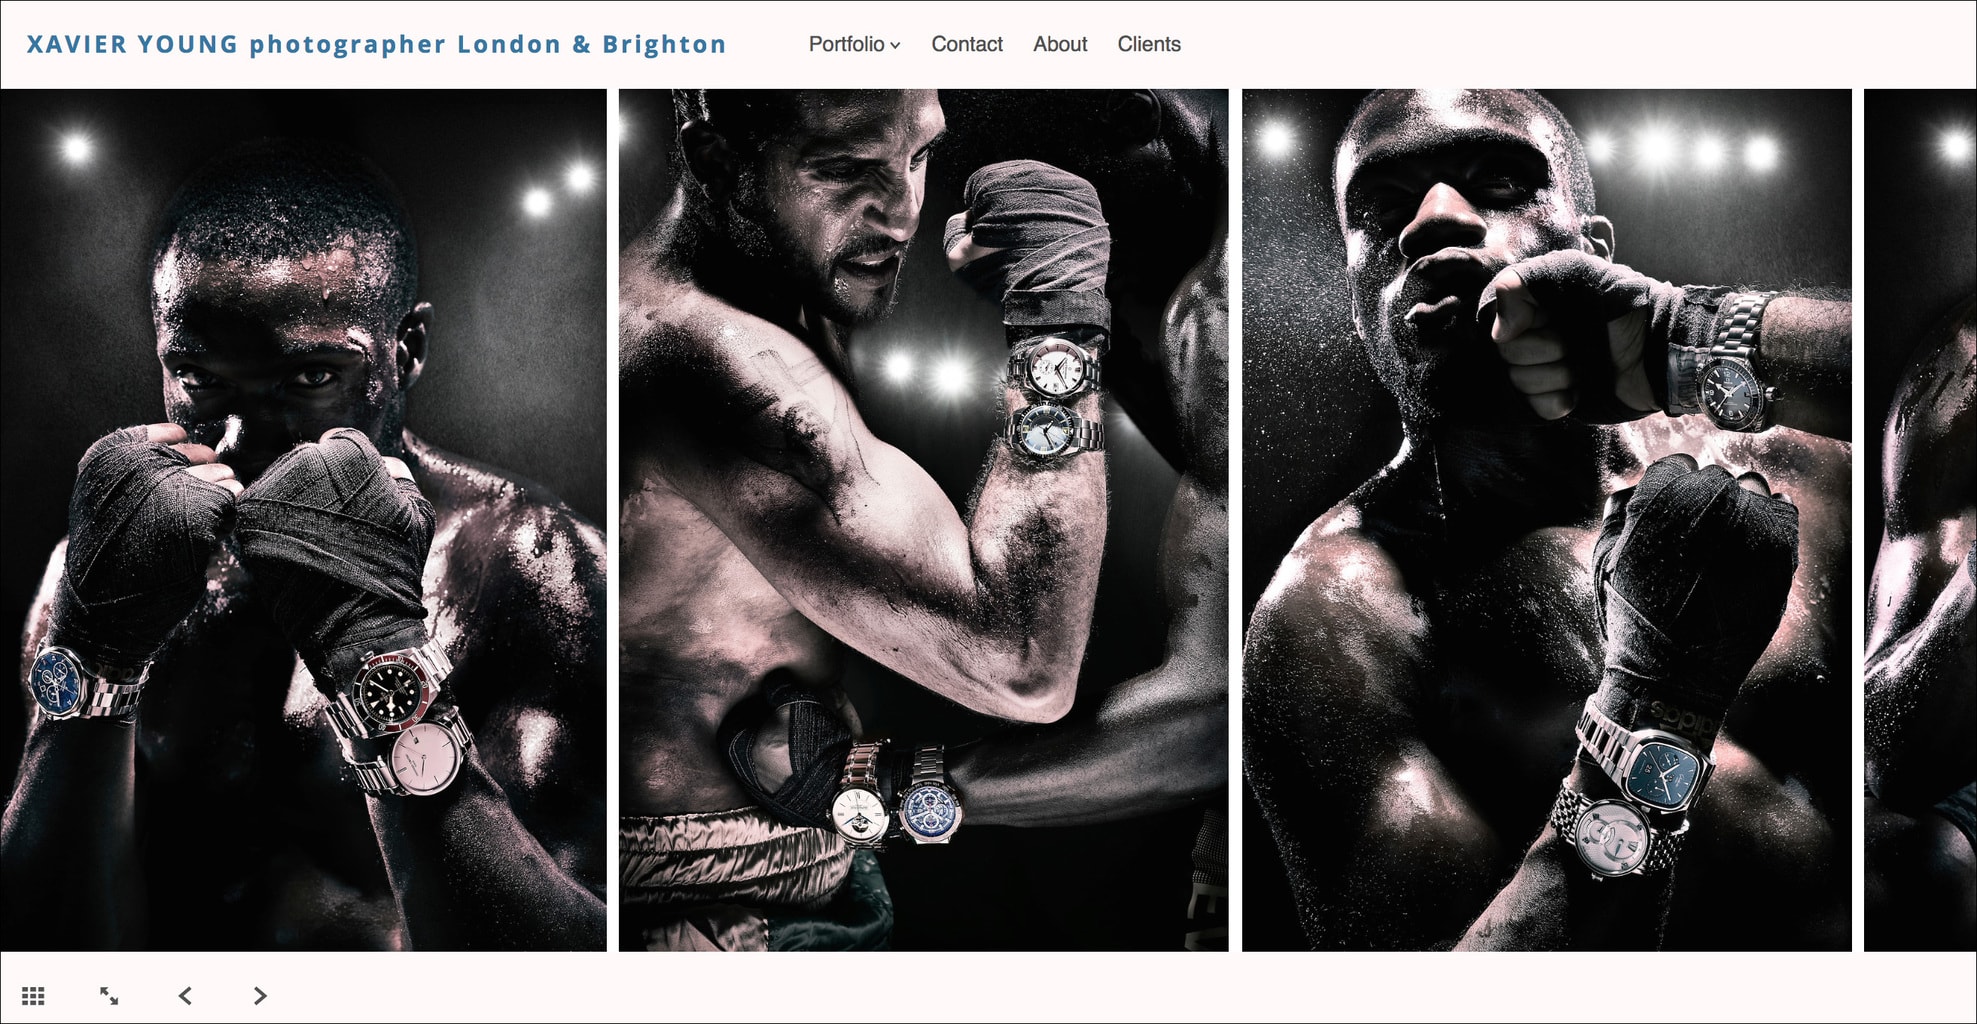
Primary location: London, United Kingdom
“I provide a bespoke service. All elements of production from set building to the final retouch are handled in house, primarily by me. I try to inject a little humor and magic into my commissions and go beyond simply making everything look ‘premium.’ I’m proud that my clients say my images have a particular look.”
What’s one lighting tip you’ve learned over the years?
“My technique for lighting is quite intuitive, I generally have an idea of the sort of look I’m after, but I will play around for quite a while and try lots of different effects — sometimes it’s quite disastrous.
Falling back on formula lighting setups is fine for run of the mill commercial work where you don’t have time to muck around, but to produce interesting images, I much prefer to start with a clean slate and just look at what elements of the subject I want to bring out — shape, form, texture or color. Then I make an educated guess as to which light source will get me there, inevitably change my mind several times.
I don’t believe you need a huge selection of expensive lights, though they are fun and may help to impress clients. The most important pieces of lighting equipment in my studio are three trays of black, white and mirrored card, a bunch of magic arms, and a big ball of blu-tac. I actually use far fewer lights nowadays compared to the days of film. I often move the light/reflectors/diffusion between frames and then combine them later in Photoshop.
In short, my advice would be to experiment and probably avoid the soft box.”
Photo by Xavier Young
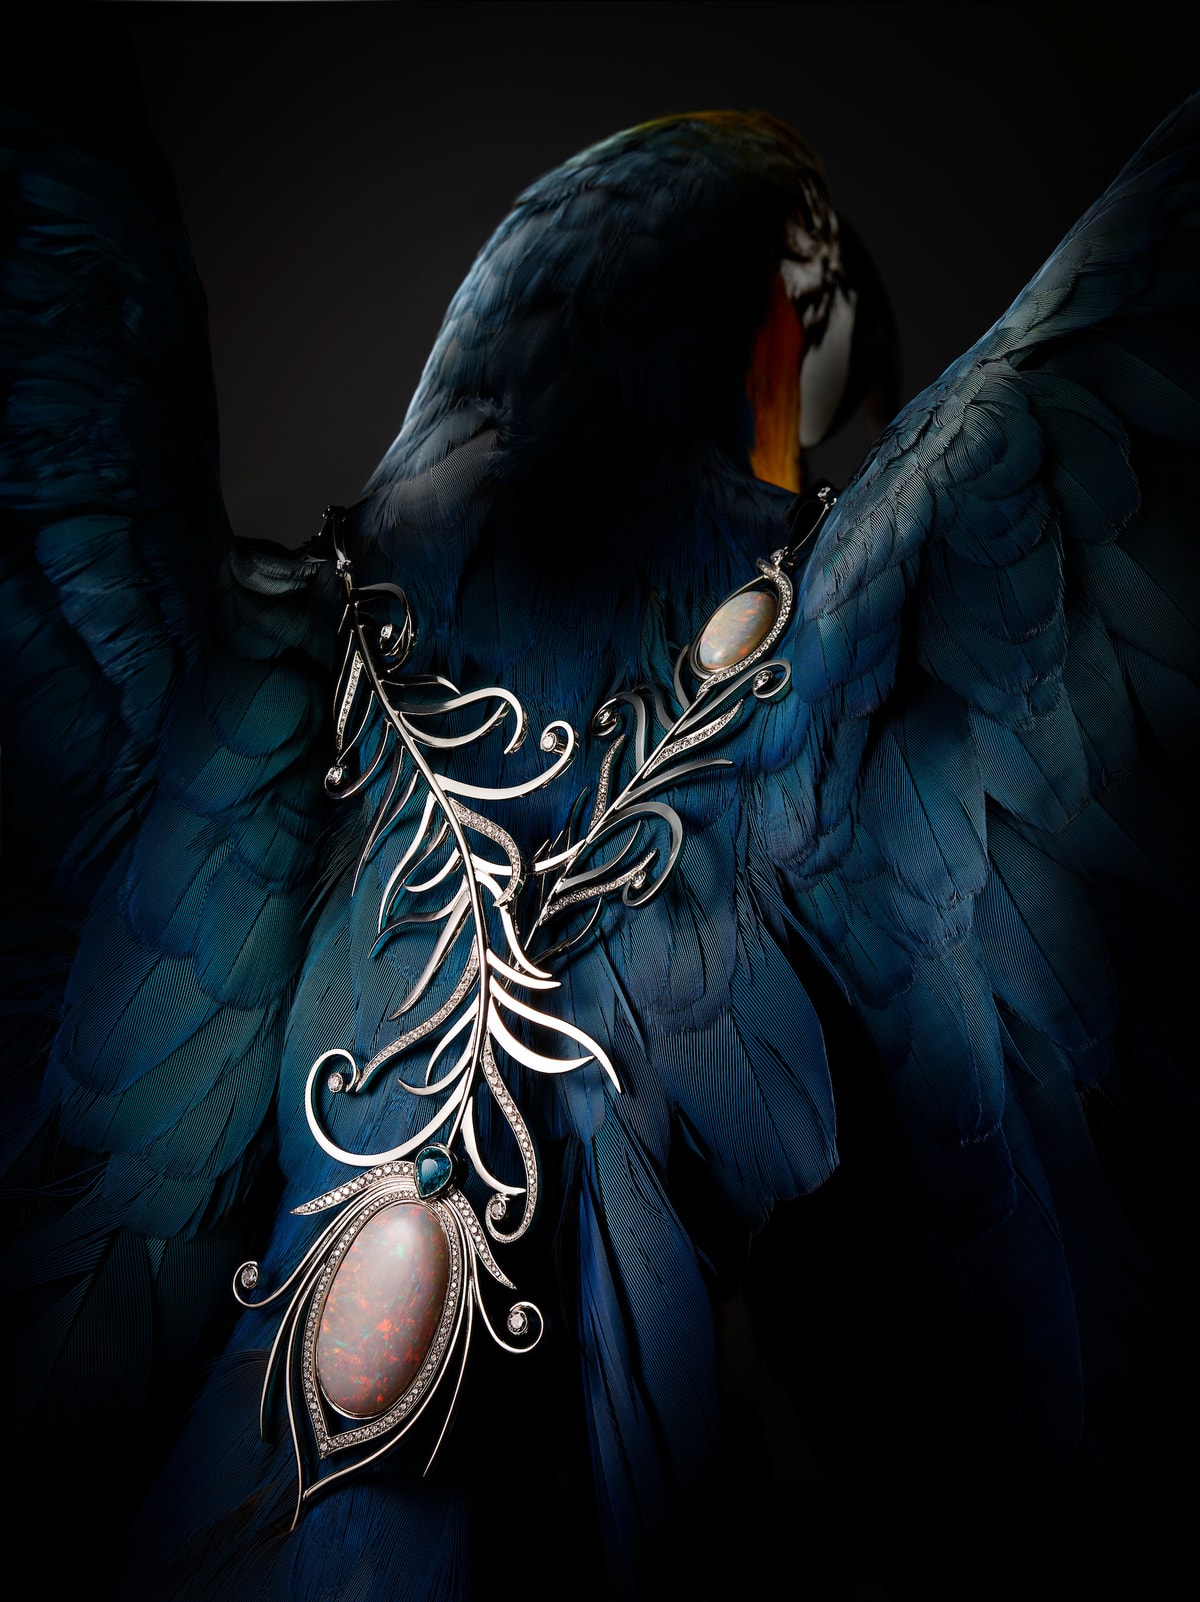
Photo by Xavier Young
Mike Pickles
Primary location: Hong Kong, China
Instagram
“I always strive to create the most visually compelling image possible that fits the client’s needs. No two clients are the same, so neither should the process be. Tailoring images to fit different demands is where the uniqueness and the creativity will come from.”
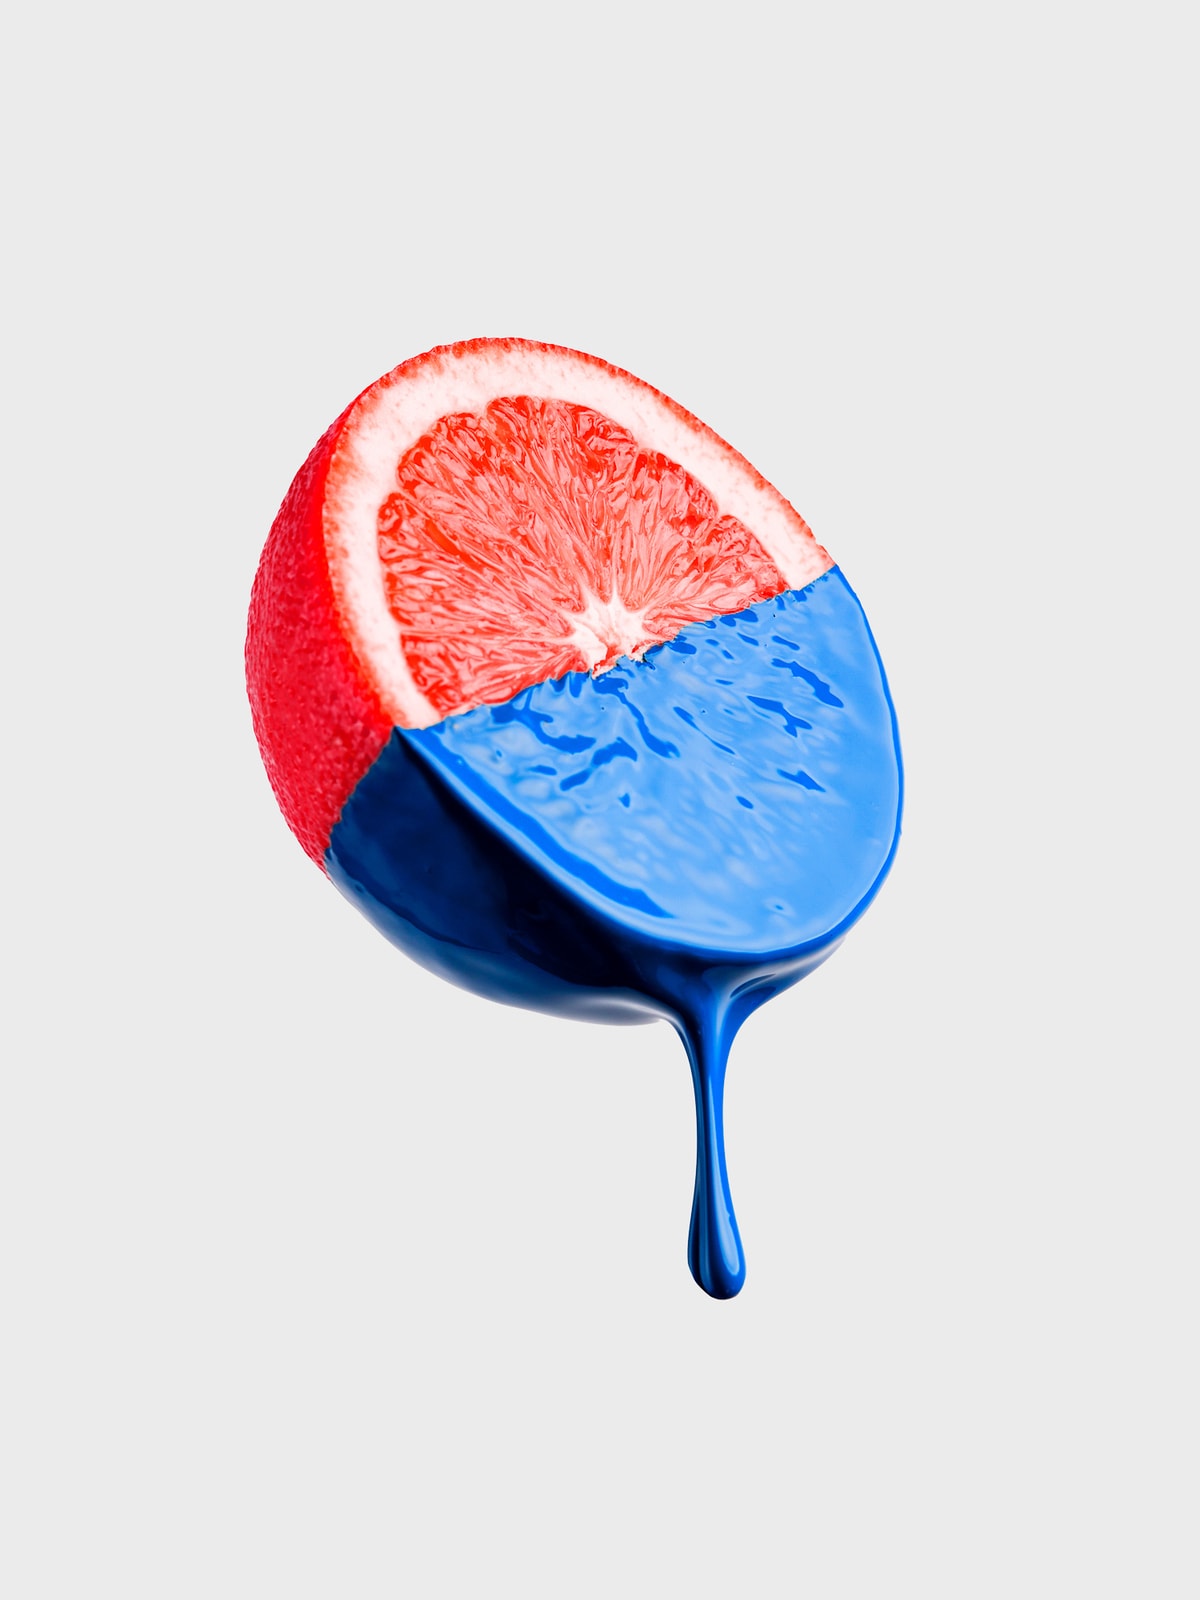
Photo by Mike Pickles
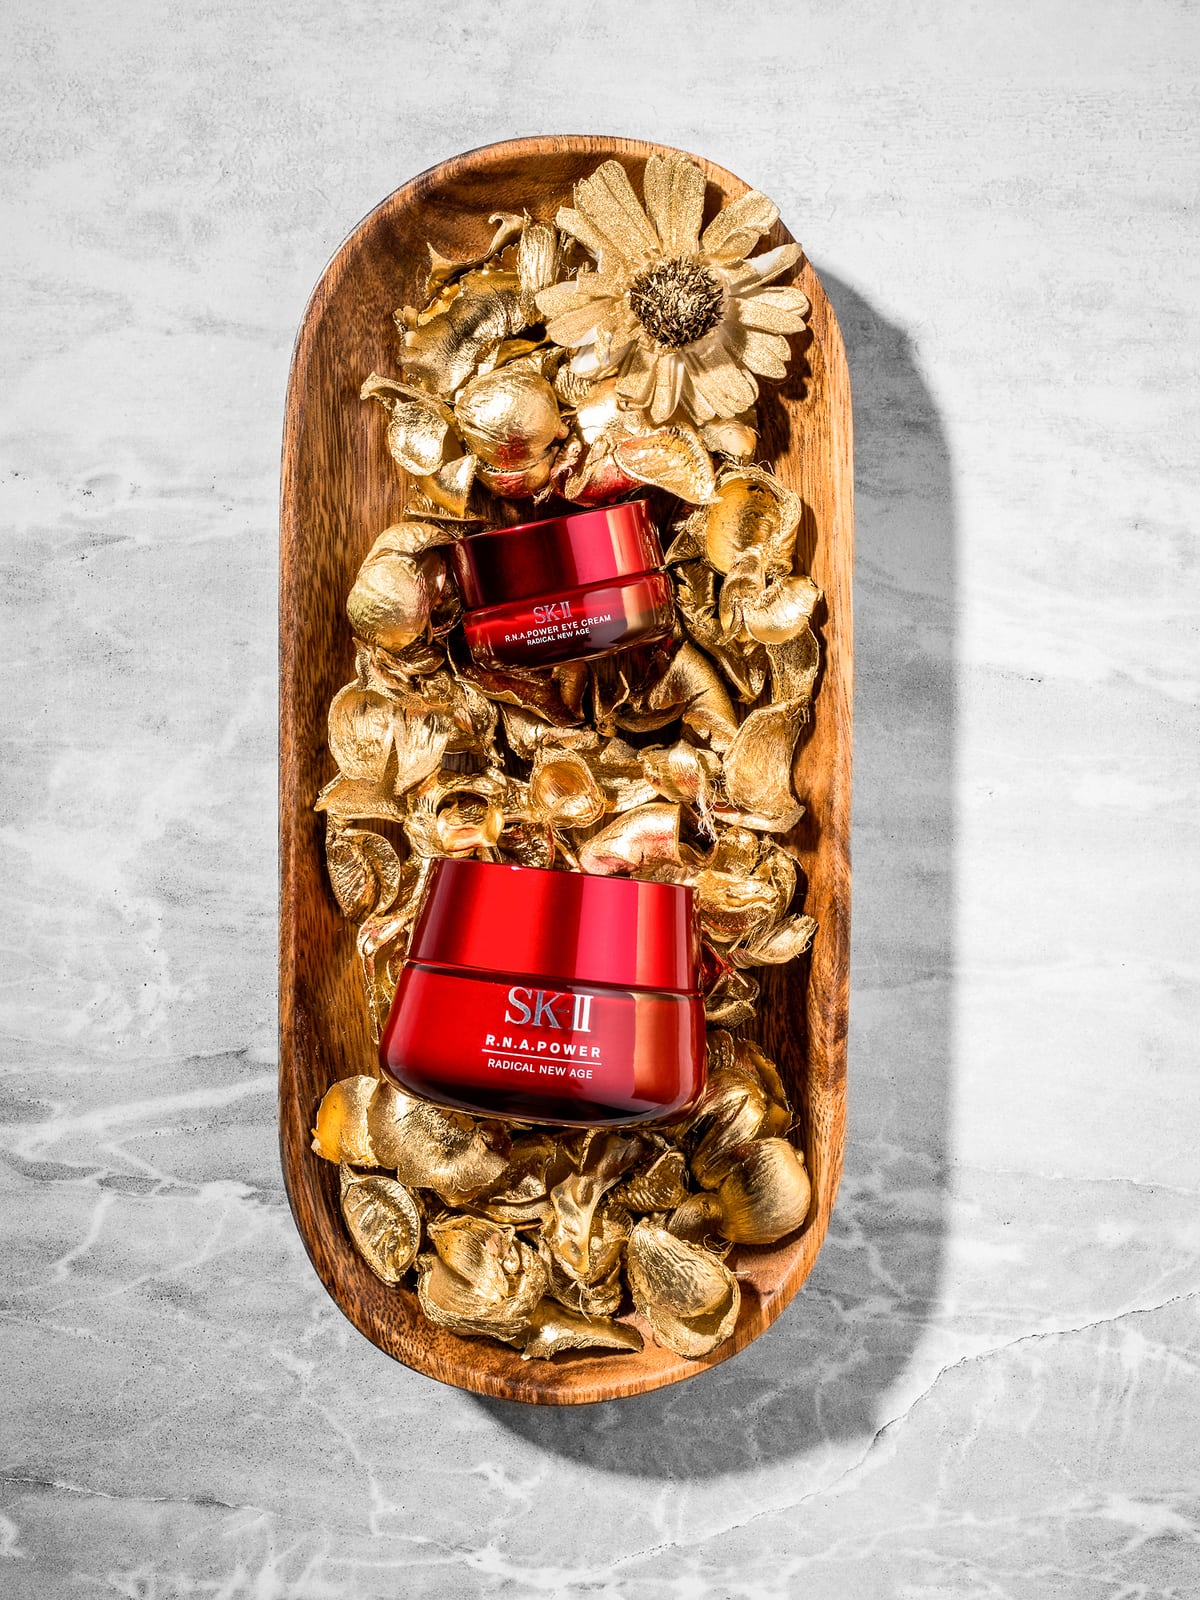
Photo by Mike Pickles
Check out our Instagram for more beautiful shots from these photographers and the blog for more highlights from other members of The List.

You May Also Like
-

Expert Advice and Top Tips from Pro Photographers for 2024
What’s one piece of advice you would give to aspiring or up-and-coming photographers? We asked nine experienced photographers and PhotoShelter members to share their top tips for those looking to get ahead in their photography careers. From finding your own visual voice to working with a mentor or photo assistant, each piece of advice listed […]
-

What’s On Your Photography Holiday Wish List?
The holiday season is around the corner and that means it’s the perfect opportunity to upgrade your gear or find that special gift for the visual storyteller or photography enthusiast in your life. We reached out to a handful of renowned photographers and PhotoShelter members, each with their unique styles and preferences, to bring you […]
-

Share a Photo That Means the World to You
We all have a photo that means the world to us. Maybe it’s one we made ourselves – the first photo from our first camera. It could be an old family photo in a beloved photo album. Or maybe it’s an iconic image that hangs on our wall at home. With World Photography Day coming […]