Share
6 Ways to Customize Your PhotoShelter Website
Earlier this year we introduced you to our incredible Tech Support Team: Anne, Jelan, Sarah, Damari, Amanda and Karen. They’re experts on PhotoSh...
Earlier this year we introduced you to our incredible Tech Support Team: Anne, Jelan, Sarah, Damari, Amanda and Karen. They’re experts on PhotoShelter’s templates, back-end image organization, sales tools and everything in-between.
In an effort to help you make the most of your PhotoShelter website in 2020 and beyond, we asked Technical Support Team Manager Anne Carlin to gather her team’s best website tips, all based on your most frequently asked questions.
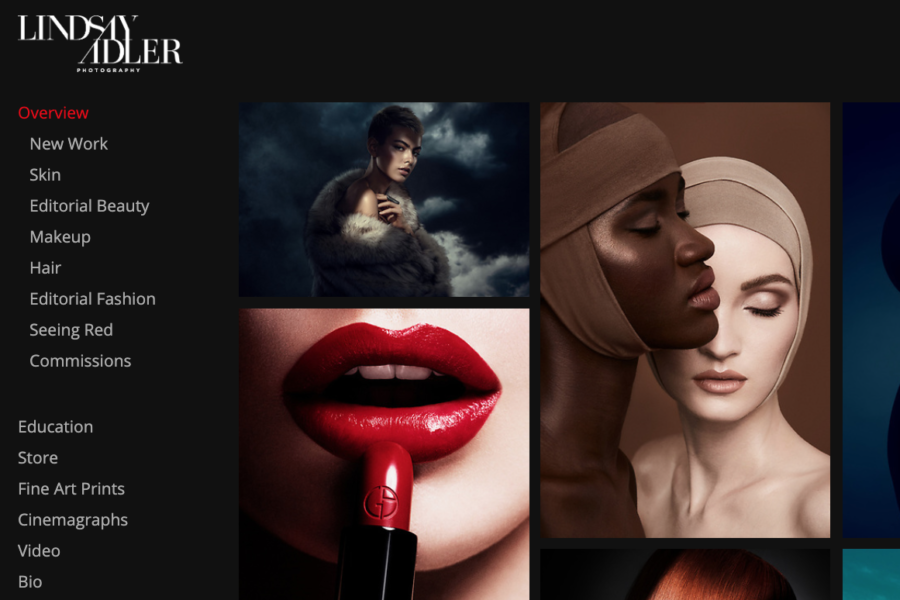
Cover Image: Lindsay Adler‘s website. She is using our East template.
The following is written by Anne Carlin, Technical Support Team Manager.
At PhotoShelter, our Technical Support team is ready to answer your questions about all things PhotoShelter and photography. When we dig into the data about what members are asking about most, we found that the biggest category of ticket questions relate to website customization.
Here are my team’s tips for how to make your PhotoShelter website work for you:
My tip: If your website’s primary purpose is e-commerce, make it easy for customers to find your priced photos. Since sales typically happen in the archive section of your site, consider renaming your archive navigation label to something like “Store” or “Purchase Prints” to direct customers to the right place. This article shows you how.

Jelan’s tip: All of our templates include a Contact page. Sometimes members building their website don’t realize that there are two sections of this page: the section where you can enter your own contact information for clients to reach out to you, and the form (below or on the side) that clients can fill out to contact you without going into their own email accounts.
To add your own information to this page, start in the Site Builder. Click on the “Contact” page from your site’s navigation, and find the blue edit circle near the center of the page that says “Content Area” when you hover over it. Clicking this edit button will allow you to enter any text you’d like above the Contact Form such as your phone number, email, or address. Be sure to hit Save in the top left! To see more on the steps, check out this article.


Sarah’s tip: For some, a portfolio isn’t complete without a little extra information available to clients and potential customers. Luckily, two of our templates — Horizon and Sonnet — are pre-built with support for gallery descriptions, allowing you to give some context to the featured work in your portfolio.
If you’re using our Sonnet template, these settings are automatically enabled on your site as long as you’ve entered a gallery description in the right pane of the image browser. If you’re using Horizon, find the Image Metadata Display settings in the bottom left corner of the Site Builder. Turn on your Gallery Info, and voilà!

Karen’s tip: Do you want control over the galleries featured in your portfolio or do you want your recent galleries automatically displayed? The default setting for our templates is to feature an automated feed of your recent work, but you can edit your settings to have more control. To do this, head into the Site Builder and click the blue “Featured Work” work icon. On the left, select “Specific galleries/collections” and then add the galleries you want to feature. For a step-by-step guide, check out this article.

Amanda’s tip: Every photographer has different needs when it comes to how they use their website. Some photographers are exclusively using their website as a curated portfolio with contact and booking information. Think of this as your website’s “front-end” where you feature only your best work. In this case, these photographers would prefer their full archive of images only be found by specific clients they invite, or maybe even by no one but themselves.
If you want to use your website this way, you can keep it looking clean and straight-forward by hiding the Archive option from your navigation menu! Just click on the “Navigation” edit icon in your Site Builder, then in the left pane, drag the “Archive” item down below Hidden Navigation Items. No need to display extraneous pages if you don’t use them.


Damari’s tip: When you’re getting started with PhotoShelter or working on a site redesign, be sure to check out examples of sites built on our templates to see what fits best into your overall vision. The templates each have a different look and feel.
Documentary photographers might gravitate towards Sonnet or Horizon’s ability to add descriptions to your featured galleries. Marquee and Promenade may be a good choice for fine art photographers as they both default to larger, single-image views for scrolling through galleries. Wedding and lifestyle photographers may like the grid views in East, Downtown, Shuffle or Pivot. Read more about our template options here.


Have your own website customization questions? Something sales related? Bring it on!
You can reach our fabulous support team Monday-Friday 9AM-7PM EST at (212) 206-0808 or via email at support@photoshelter.com.
You May Also Like
-

Expert Advice and Top Tips from Pro Photographers for 2024
What’s one piece of advice you would give to aspiring or up-and-coming photographers? We asked nine experienced photographers and PhotoShelter members to share their top tips for those looking to get ahead in their photography careers. From finding your own visual voice to working with a mentor or photo assistant, each piece of advice listed […]
-

What’s On Your Photography Holiday Wish List?
The holiday season is around the corner and that means it’s the perfect opportunity to upgrade your gear or find that special gift for the visual storyteller or photography enthusiast in your life. We reached out to a handful of renowned photographers and PhotoShelter members, each with their unique styles and preferences, to bring you […]
-

Share a Photo That Means the World to You
We all have a photo that means the world to us. Maybe it’s one we made ourselves – the first photo from our first camera. It could be an old family photo in a beloved photo album. Or maybe it’s an iconic image that hangs on our wall at home. With World Photography Day coming […]