Share
Making an Awesome Photo Book Part 2
Last month, I wrote about using Blurb’s PDF-to-Book functionality to create a photo book. Photo books are not new, but I’ve typically considere...
Last month, I wrote about using Blurb’s PDF-to-Book functionality to create a photo book. Photo books are not new, but I’ve typically considered them as items that soccer moms were ordering for their scrapbooking activities. But it’s clear that a well-designed, well-executed book can be a great upsell item for professional photographers who have seen a decline in print sales.
Ingrid and our friends at AdoramaPIX also offer a book making service, and I took it for a spin.
Instead of going through the rigamarole of design and color profiles, I decided to approach it more from a consumer angle without worrying about all the various settings that were available to me. This approach would be more akin to the standard offerings from most companies in the bookmaking space.
Unlike many other services, there is no software to install on your computer. AdoramaPIX’s book designer works completely in the browser. This is great if you want to upload the images from home, and perhaps work on the book from the office, or the road when you have more time.
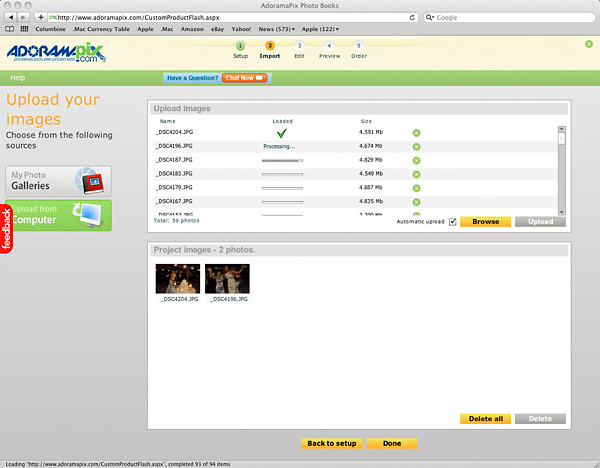
Once you’ve uploaded the images, you can drag and drop them into place. There are controls to resize, overlay text, resequence, etc. Adorama offers a bunch of different sizes for the books (from 6″x4″ to 12″x12″) so you’ll have to crop your images appropriately.
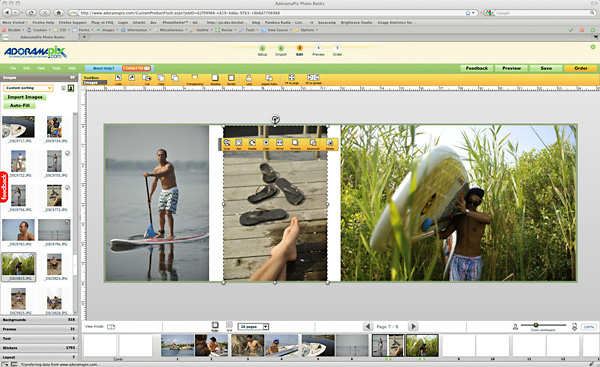
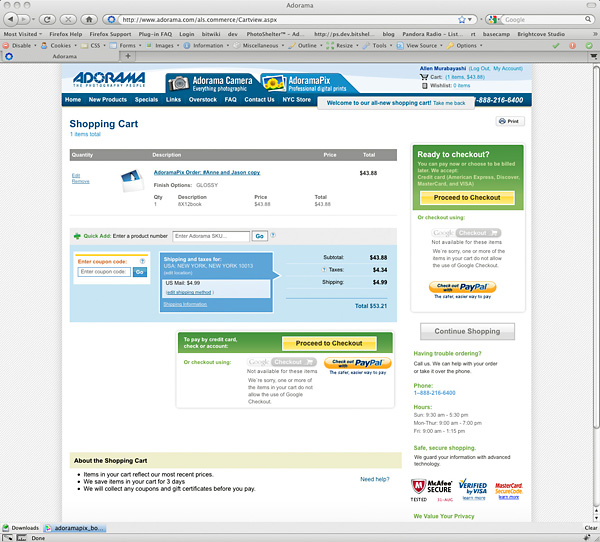
AdoramaPix offers color profiles to download so that you can softproof colors, but I was curious to see what my AdobeRGB images would look like untouched. After I finished my design, I placed an order for a book.
About a week later, I received the book in the mail packed in a sturdy cardboard mailer.
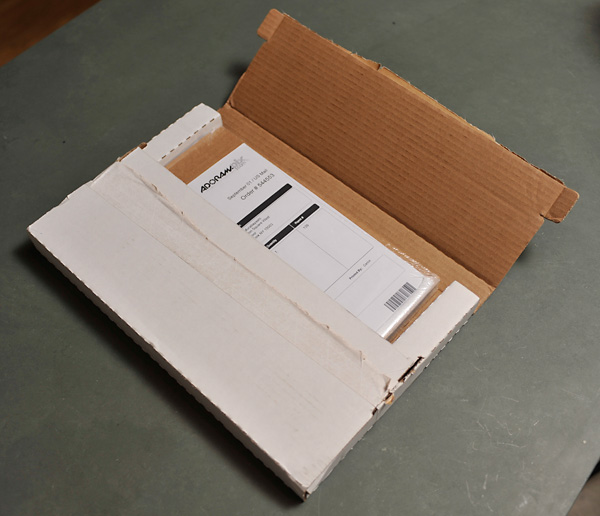
The book was actually shrink-wrapped between two additional pieces of cardboard (Blurb used a single sheet on the bottom plus shrink wrap).
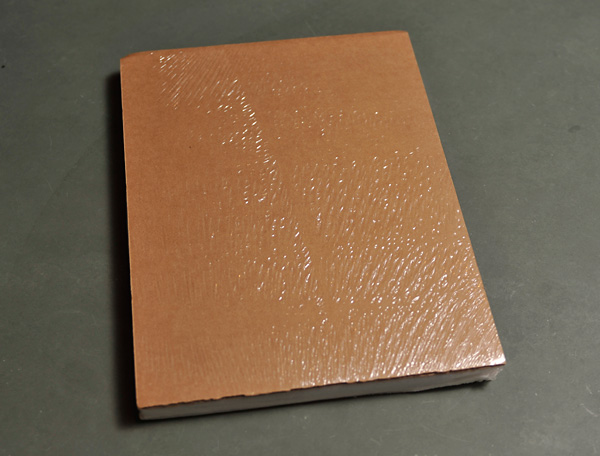
The book construction was solid. Most notably, the images were actually printed on Fuji Crystal Archive paper with adjoining pages fused together rather than the thinner stock of the Blurb book (published on HP Indigo printers), which was more like magazine stock. The Blurb book was more “book-like” while the AdoramaPix book had a more sturdy feel.
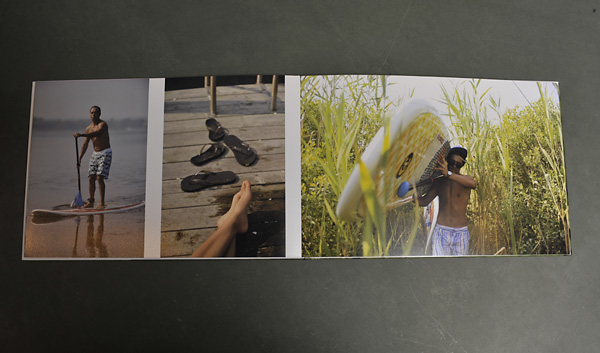
The colors weren’t as brilliant, but that’s a function of not color profiling the images. If I wasn’t comparing a color profiled print job against a non-profiled one, I don’t know that I would have noticed a difference. But the exercise confirmed what you probably already know: for best results, color profile your images. You could, in theory, also size and sharpen the images for output. The images were definitiely less sharp than the Nik Sharpened ones that I used in the Blurb book, but they certainly weren’t blurry by any means (and this certainly wasn’t a function of their printing, but rather, my image preparation).
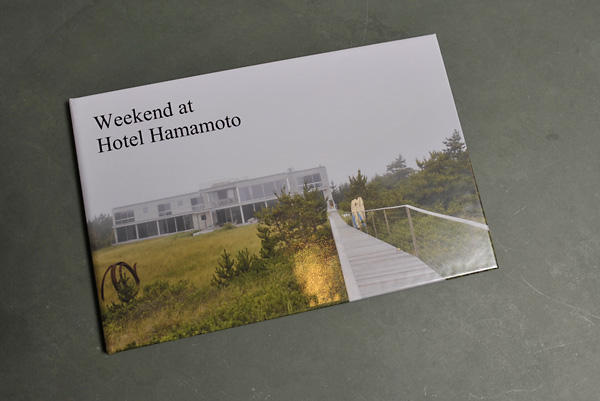
The one unexpected part of the printing was that the first image I printed was actually the inner cover of the book — i.e. there was no “title” or “filler” pages before the book started. So to the extent that that matters to you, you’ll want to plan accordingly.
Assembling the AdoramaPix book was pretty easy. It certainly was faster than the hours spent in front of InDesign, but the trade-off was a little less control over the output. But let’s be honest: I spent $1200 on my InDesign software with my Adobe Creative Suite, and have been using page layout tools for 20 years. Most photographers don’t have the software or design inclination, so the AdoramaPix software is great for the large majority of photographers.
Follow AdoramaPix on Twitter, where Ingrid lists a bunch of educational information (e.g. seminars on bookmaking) and frequent printing specials. It’s all good stuff.
The experience of opening a book that you’ve assembled is akin to making your first print in the darkroom, or the first time you fire up that nice inkjet printer. There is something very exciting and gratifying about the permanence and tangibility of the book. And while anyone can produce a photo book, not everyone has the quality of images that a serious photographer can create. So shoot, design, and publish, and let us know how your clients like your books!
Previous Post: Pricing Your Images
You May Also Like
-

Expert Advice and Top Tips from Pro Photographers for 2024
What’s one piece of advice you would give to aspiring or up-and-coming photographers? We asked nine experienced photographers and PhotoShelter members to share their top tips for those looking to get ahead in their photography careers. From finding your own visual voice to working with a mentor or photo assistant, each piece of advice listed […]
-

What’s On Your Photography Holiday Wish List?
The holiday season is around the corner and that means it’s the perfect opportunity to upgrade your gear or find that special gift for the visual storyteller or photography enthusiast in your life. We reached out to a handful of renowned photographers and PhotoShelter members, each with their unique styles and preferences, to bring you […]
-

Share a Photo That Means the World to You
We all have a photo that means the world to us. Maybe it’s one we made ourselves – the first photo from our first camera. It could be an old family photo in a beloved photo album. Or maybe it’s an iconic image that hangs on our wall at home. With World Photography Day coming […]